Spectral Analysis
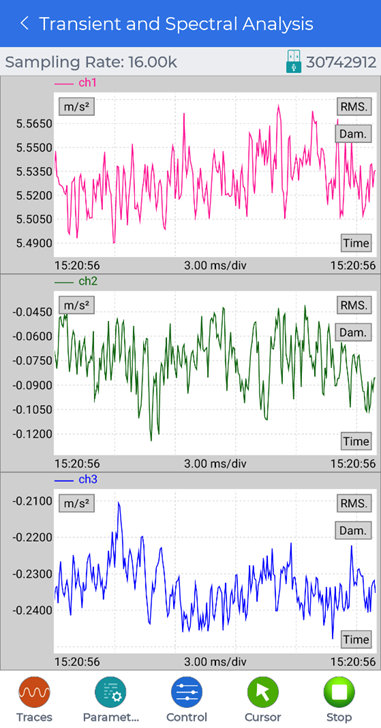
The Spectral Analysis page can be accessed by connecting to a Ruby via USB.
For more details on controlling the signal display traces, see Moving and Zooming around in the Signal Display Traces or Navigating Signal Display Controls.
Spectral Analysis Parameters
Tap the Parameters button to open a menu that contains additional buttons for editing the spectral analysis settings. Sliding left on the menu will reveal more buttons.
Sampling Rate
Change the sampling rate from 16.00kHz to 125.0Hz.
Analysis Parameters
Change various analysis parameters such as:
- Block size
- Average mode
- Average number
- Window type
Location ID
Change the location ID of each channel.
Trigger Setup
Record Setup
Change the signal recording of:
- Which channels to record
- How many points to record
- Or how long of a duration to record for
Spectral Analysis Controls
Tap the Control button to open a menu that contains additional buttons for controlling the spectral analysis traces.
- Restart: restart the spectral analysis data acquisition.
- Record: record signal data from the connected Ruby according to the current spectral analysis settings that will be stored in the Ruby.


