CoCo-DSA (Digital Signal Analyzer)
Selecting a Test
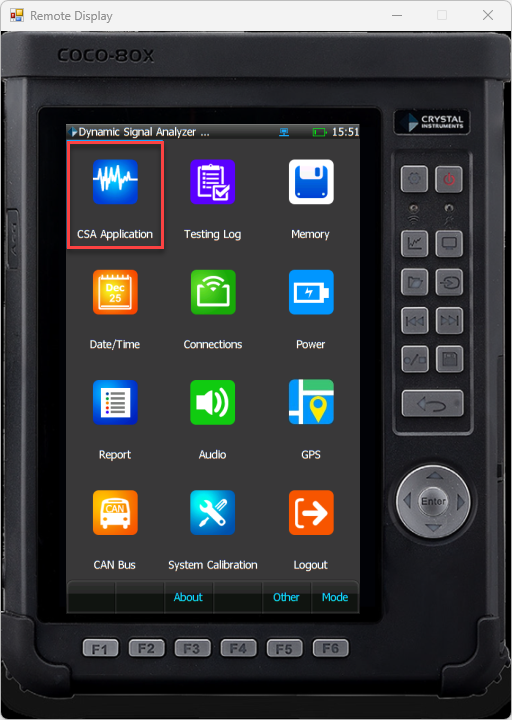
- Select CSA Application from the home screen.

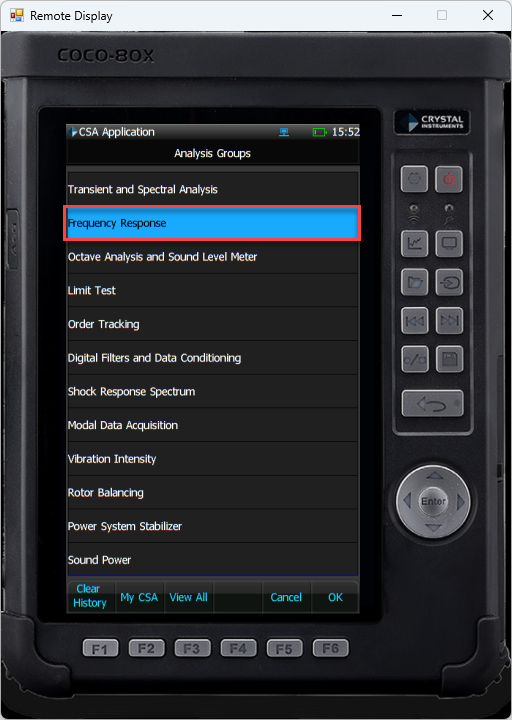
- Select which type of test you wish to run. For this example we will choose Frequency Response.

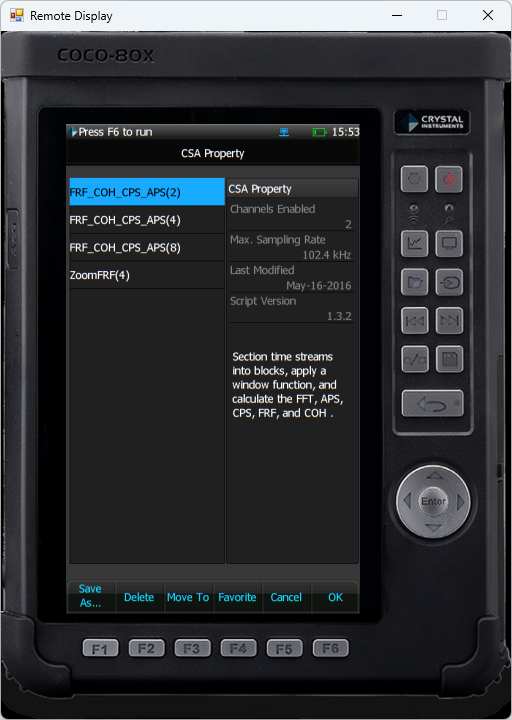
- Select the test that you wish to run. On this screen you can see important parameters like Channels Enabled, Max Sampling Rate, and a description of the test.

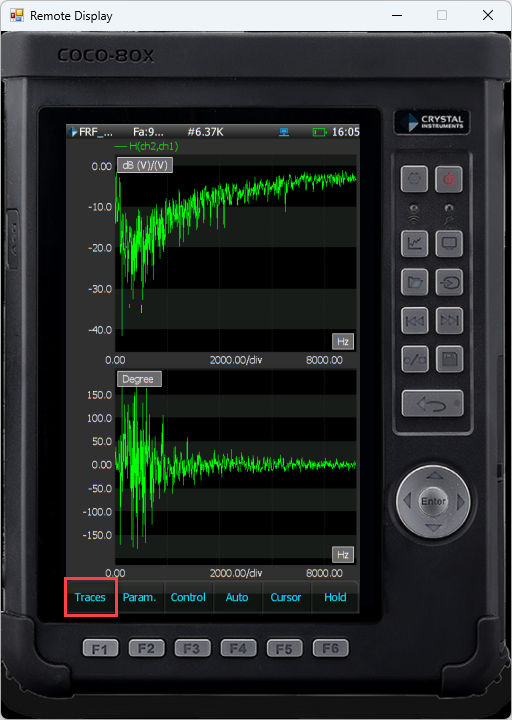
- This will then pull up the test window
Creating Windows
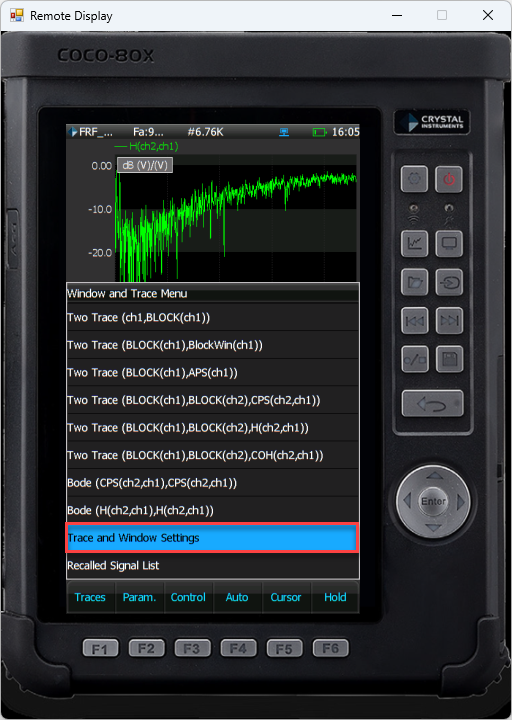
- To create a new window, first select the Traces button or F1.

- This will open a menu of all your previously created window. Select Trace and Windows Settings.

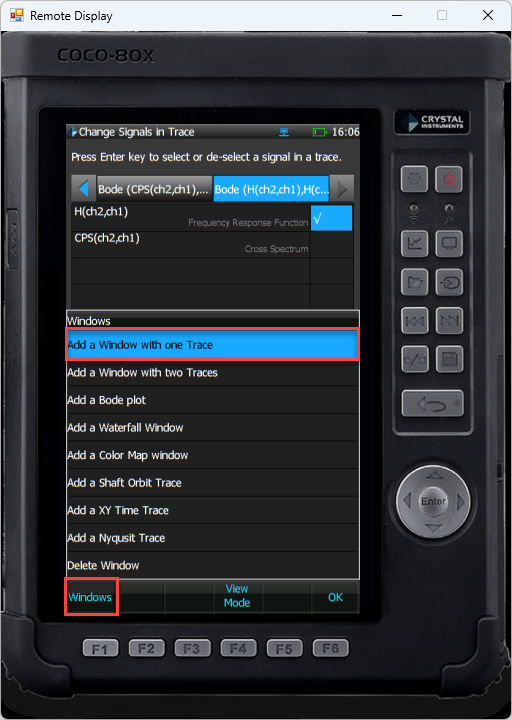
- Select Windows or F1. A list of possible windows to create will appear. In this scenario we will choose Add a Window with one Trace.

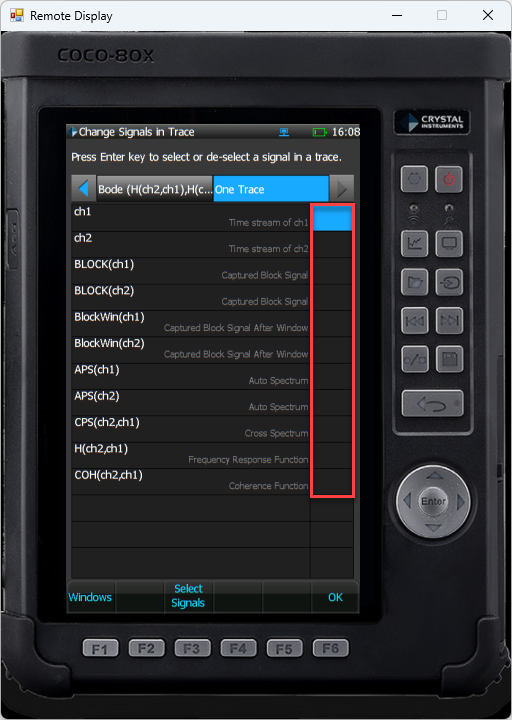
- A list of all created signals will appear. Here you can check which signals you wish to view in the window.

Setting Parameters
- To configure parameters for a test, select the Param. or F2 button.
- This will open up a list of editable parameters.
- To change frequency range, select Frequency Range.
- This will show a wide range of different frequencies to choose from.
- To adjust input settings, select Input Channels.
- Press on Sensitivity for a channel.
- This will open up a menu in which the Measurement Quality, Engineering Unit, and the Sensor Sensitivity can all be adjusted.
- Press on Input Mode for a channel.
- Here you can change the input for different sensors.
Recording Time Streams
- Press F2/Param. and select Time Streams Recording Setup.
- The table lists all available signals to record. Press the box next to the signal to add the check mark and select channels to record.
- Press F6/OK to save changes and go back to live signal display.
- Press Rec/Stop hard key once to start raw time waveform recording. Recording in progress is confirmed with the recording status box and flashing Rec with red dot in top bar.
- Press Rec/Stop once again to stop time stream recording.
Saving Signals
- For saving frequency domain signals, press F2/Params. and select Spectral Save Setup.
- The table lists all available signals to record, press the box next to the signal to add the check mark and select channels to record.
- Press F6/OK to save changes and go back to live signal display.
- When ready to save signals, press the Save hard key. A list of saving options will show to save the signals.
- A header box will verify signals have been saved.
Viewing Recorded Data
- Press the File hard key to view the list of saved and recorded files
- Raw time waveforms are denoted as RECxxxx by default.
- Spectral Saves are denoted as SIGxxxx by default.
- After highlighting the file you wish to open, click View File or F4 to open and view the recording.